Customise PDP using Shop2App Blocks

In this Article
- Set up PDP Customiser
- Configure PDP Settings
- Configure Product Badges
- Preview Product Badges
- Customise PDP CTA
Set up PDP Customiser
With the PDP Customiser, you can create unique Product Display Pages (PDPs) for different products, tailored to specific requirements.
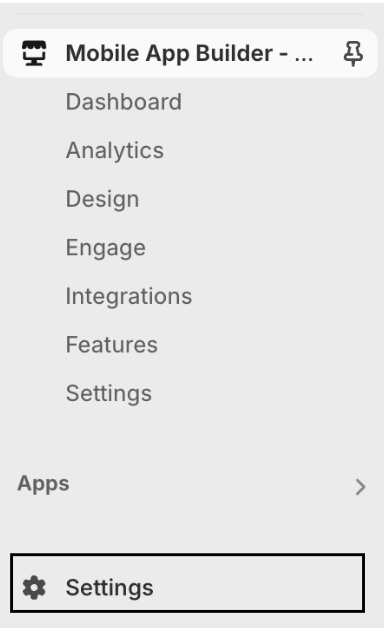
Step 1: Go to Settings, in the bottom left corner of your screen
Step 2: Select Custom data, then select Products
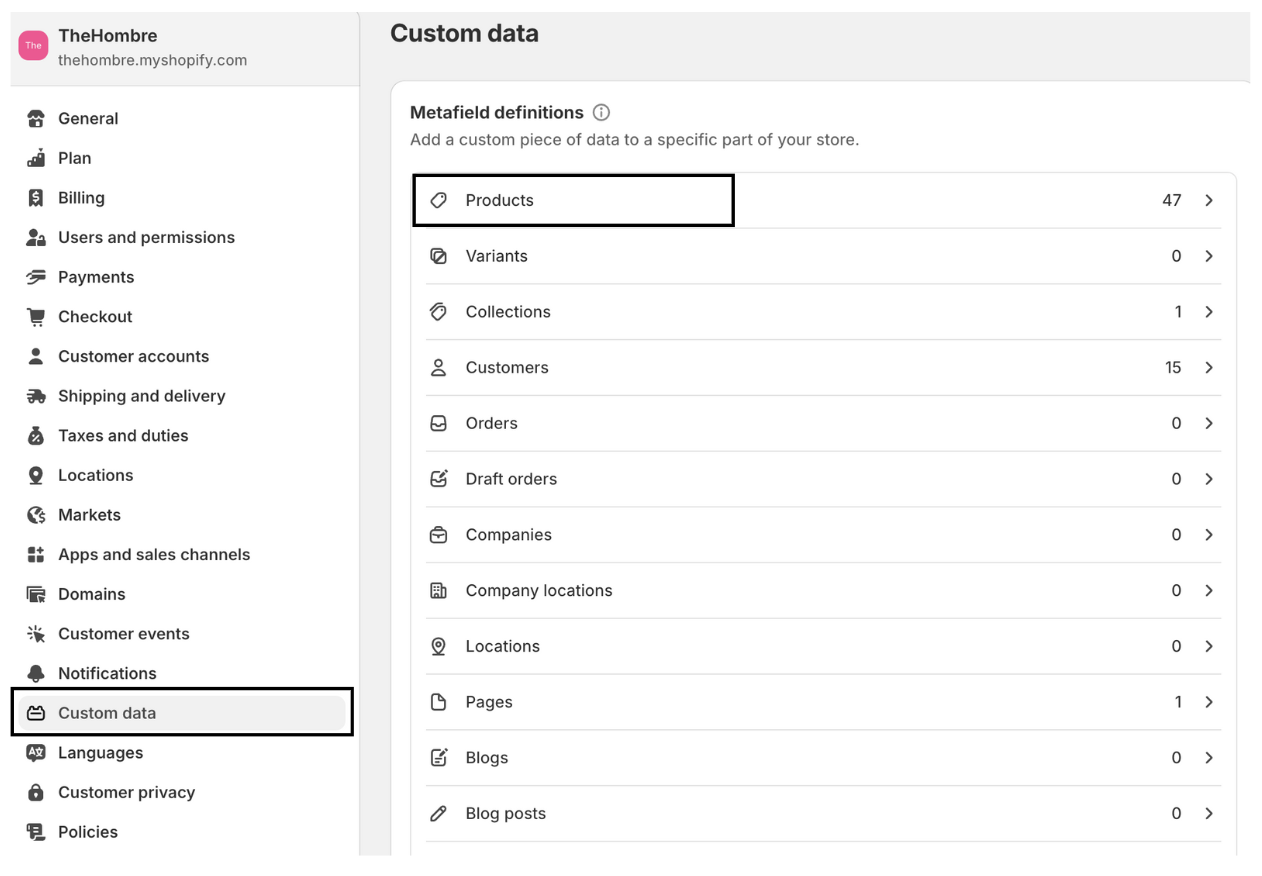

Step 3: Now go to the metafield and enable Storefronts access to read access for all Shop2App: Custom Blocks 1 to 25 and save

Step 4: Now under Mobile App Builder - Shop2app, navigate to the "Design" Tab
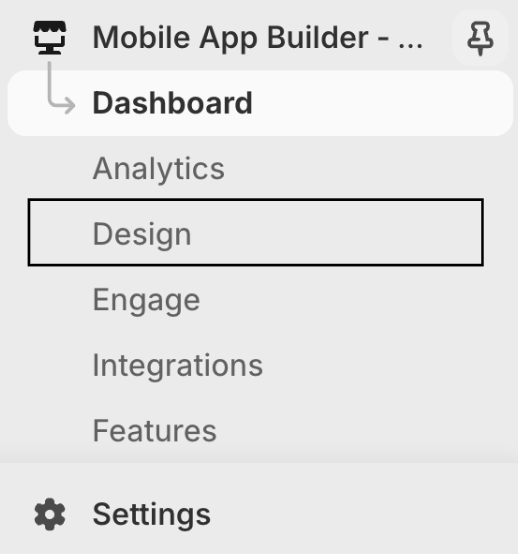
Step 5: Go to PDP, under PDP, select "Customiser"

Step 6: To choose the desired product click on "Customise". You will be redirected to the Configure PDP Customiser page

Step 7: On PDP Customiser select "Add Custom Block 1"

Step 8: Select the Block and click on Add
Refer to this article to see how to configure different Block types

Step 9: Once you have successfully configured the blocks, click on Save
Please note that you can add multiple Blocks for your PDP
Configure PDP Settings
Step 1: Under PDP, go to Settings and enable the feature(s) you wish to enable
Please note that these features are available in the Enterprise Plan Only

You can enable features such as:
- Show Description: This feature displays a detailed description on the Product Detail Page.
- Show Recommendations: This feature lets you include a section with recommended products on the Product Detail Page.
- Product Share: This feature enables the customers to share product links via the app.
- Vendor Name: This feature lets you show the vendor's name on the Product Detail Page.
Configure Product Badges
Step 1: Under PDP, go to Product Badges
Step 2: Now add Badge Prefixes
For displaying badges on products, tag them as follow: __label:BESTSELLER
Here __label: is the badge prefix and BESTSELLER is the badge that will show on products in app
Step 3: Select the Background color and Text Color

Step 4: Once configured click on Save

Preview Product Badges

Customise PDP CTA
This CTA feature lets you customize call-to-actions for tagged products on their PDP, delivering more engaging and relevant messaging to customers
Step 1: Under PDP, go to CTA and click on "Add CTA"

Step 2: Enter the Tag

Step 3: Enter the CTA Text
Step 4: Select the Action Type and save
Refer to this article to learn how different Action Types work.
If you have any questions or need further assistance, feel free to contact us at help@shop2app.com.
Happy selling!